How To Properly Install LED Trailer Lights
Lighting is critical in vehicle safety and reliability, and trailer lighting is no exception. Among the varieties available today, LED trailer lights are rapidly becoming the preferred choice for engineers and fleet managers, thanks to their longevity, energy efficiency, and exceptional performance.
However, even the most advanced products are only as effective as their installation. Properly installing LED trailer lights is essential to ensure functionality, compliance with regulations, and the safety of all road users.
Understanding the intricacies of installing LED trailer lights can save you significant time and resources while optimizing operational safety and reliability. This guide will walk you through everything you need to know about working with LED trailer lights, including best practices for installation and ongoing maintenance considerations.
Find out how to properly install LED trailer lights and maximize their power on the road.
The Rise of LED Trailer Lights in the Automotive Industry
The transition from traditional incandescent lights to LEDs in automotive applications represents a significant technological leap forward. LEDs have redefined trailer lighting with unparalleled durability, brighter illumination, and lower energy consumption. Unlike traditional bulbs that rely on a fragile filament, LED lights use light-emitting diodes, which are sturdier and built to last.
Proper installation amplifies these benefits, ensuring your trailers perform at their fullest potential. Faulty wiring, poor mounting, or improper adjustments not only diminish the advantages of LEDs but also pose safety risks. Drivers and fleet managers who understand the nuances of installation gain a critical edge when it comes to maximizing performance and compliance.
Why LED Trailer Lights Are Different—and Better
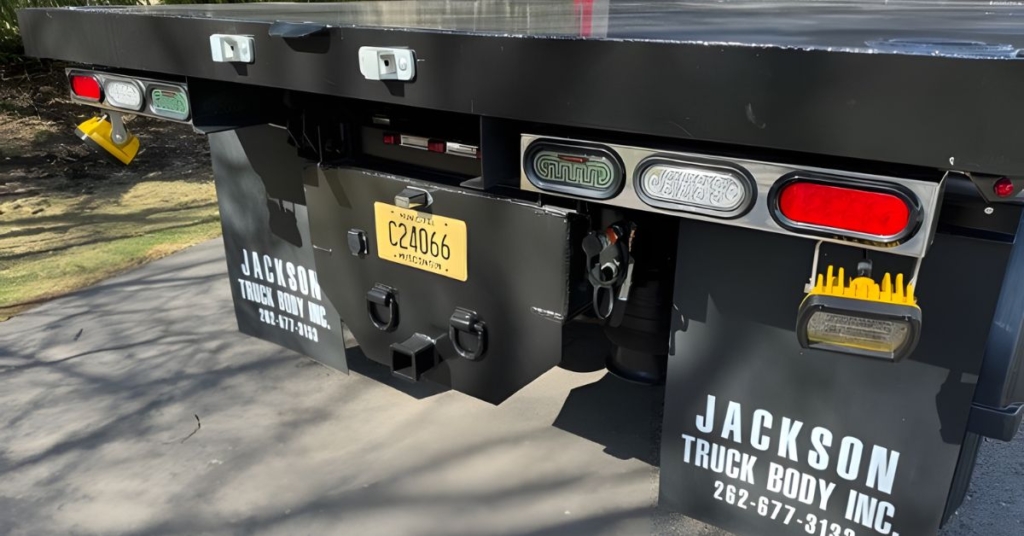
You can find a wide range of commercial truck lighting options that utilize LED technology, and there’s a reason for that. To fully appreciate the importance of proper installation, you must understand what sets LED trailer lights apart. Unlike traditional incandescent options, which are prone to frequent replacements, LEDs have an expected lifespan of tens of thousands of hours. This makes them an excellent choice for fleets where uptime and reliability are paramount.
LED trailer lights also consume significantly less power, making them ideal for trailers powered by battery systems. Their slim profiles enable more versatile mounting options, and many come with additional features such as waterproof casings, enhanced visibility optics, and corrosion-resistant designs. These benefits, however, are contingent on precise installation practices that align with their innovative technology.
Laying the Groundwork Before Installation
Successful installation begins with thorough preparation. Before you even open the box, evaluate your trailer’s existing lighting setup. Check all connectors, wires, and mounts to ensure they are compatible with your new LED system.
Faulty or poorly maintained components can lead to performance issues down the line, so don’t rush or guess your way through the light installation process.
Equally important is assembling the right tools and materials. Wire strippers, crimping tools, electrical tape, and sealants are all essential. Additionally, review the wiring diagram and user manual provided with the LED lights—they serve as invaluable references during installation. Preparation reduces the likelihood of surprises, saving time and effort.
Execution Matters—Steps To Install LED Trailer Lights
Knowing how to properly Install LED trailer lights is an art and a science. A common mistake is rushing the wiring stage, which can lead to loose connections or misaligned circuits. Carefully lay out the wiring setup, ensuring that each connection is secure, insulated, and in line with the light’s specifications. Poor connections can result in flickering lights or even outright failure over time.
Proper wiring is crucial for LED lights to function correctly. Inspect the existing wiring for any signs of corrosion or damage, and replace damaged wires as necessary.
Installing the Wires
Next, you must make sure the connections are clean. Use a wire brush or electrical cleaner to ensure proper conductivity with the new connections. Don’t forget to measure the wires, too. Confirm that the wires are long enough to reach their respective components without being stretched or strained.
Follow the wiring diagram provided with your LED light kit to connect the wires correctly. LED trailer lights will typically have color-coded wires for specific functions. Use wire strippers to expose a small section of the wires from both the trailer and the LED lights. Match the wires according to their function (for example, brown to brown, white to white).
Secure the connections using solder, waterproof connectors, or heat shrink tubing for long-term reliability. Ensure the ground wire, which is typically white, is securely attached to the trailer frame using a ring terminal and screw.
The Final Touches
Secure mounting is critical. LED trailer lights are most effective when properly positioned to optimize visibility and minimize glare for other drivers. Use durable fasteners and ensure waterproof seals to protect the mounts and circuits from environmental damage.
Carefully adjusting the angles of the lights ensures they illuminate the road correctly without blinding oncoming traffic. Use the provided brackets or mounts in the LED kit to secure the lights to the trailer. Drill holes for mounting screws if necessary, and ensure all hardware is tightly fastened. Verify that the lights are aligned evenly and not obstructed by other components on the trailer.
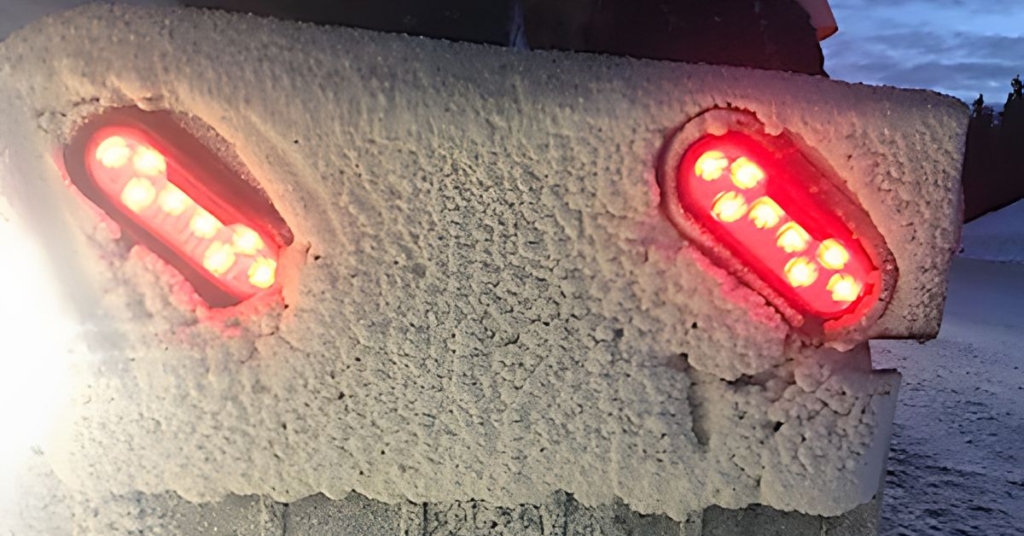
Another important step is waterproofing. LED lights can encounter issues when exposed to extreme weather conditions if improperly mounted. Seal all connectors and openings with high-quality waterproofing materials to prevent failures caused by moisture intrusion.
The Importance of Testing Post-Installation
Once installation is complete, testing is imperative. Verifying the functionality of every light—not just the brake and turn signals—is key to preventing on-road problems. Check for proper brightness, even operation, and signs of flickering. Additionally, double-check the wiring connections to ensure the trailer’s power system supports the LEDs efficiently.
If issues arise, consult the troubleshooting section of the manufacturer’s manual. Common problems typically include reversed polarity or inadequate grounding, both of which can be corrected with a quick review of your wiring. Testing is your opportunity to catch any missteps before the trailer hits the road.
Compliance and Safety Should Never Be an Afterthought
There are several regulatory requirements for trailer lighting worldwide, and failing to comply can result in costly fines or worse, driving hazards. For example, the Department of Transportation (DOT) mandates light placements and bulb colors. Thus, in the U.S., engineers and fleet managers must familiarize themselves with these standards to ensure their trailers meet all requirements.
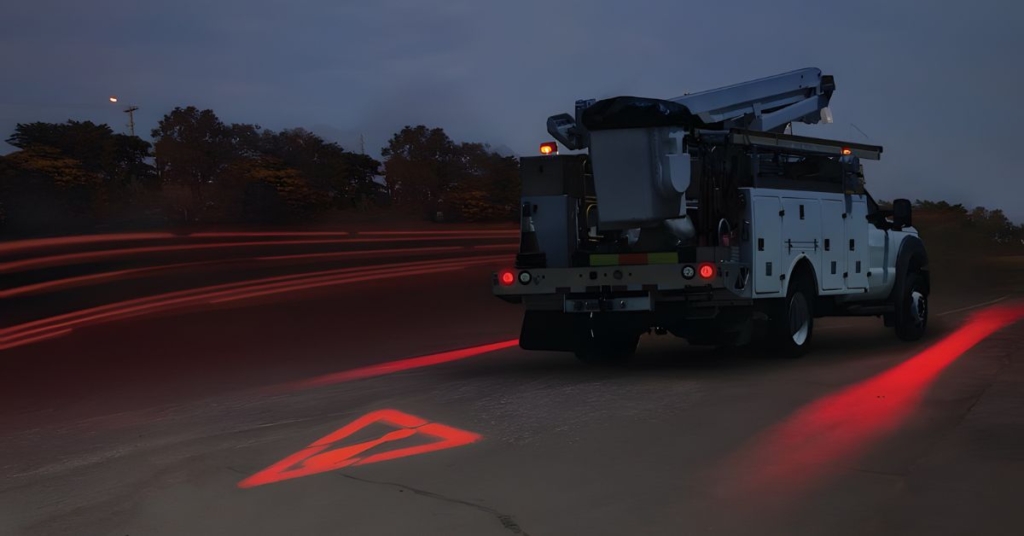
Beyond compliance, consider additional safety features such as reflective strips, backup lights, or auxiliary lighting for convenience during nighttime loading. The right planning can make your trailer not just compliant but also safe and reliable.
Elevate Your Fleet With the Power of LED Technology
Installing LED trailer lights is an investment in efficiency, safety, and long-term reliability. If you’re ready to modernize your fleet or optimize your existing systems, take the next step with confidence. Whether you’re overseeing a full-scale rollout or seeking additional guidance, you can start making the most of everything LED trailer lights have to offer.